Bundle creatives
Overview
Games often have entities that are not in the application at the build-time, but are uploaded to the server as asset bundles and downloaded in the runtime game for later display to the player. In our SDK they are represented by default as bundle creatives that you can add for different campaigns.
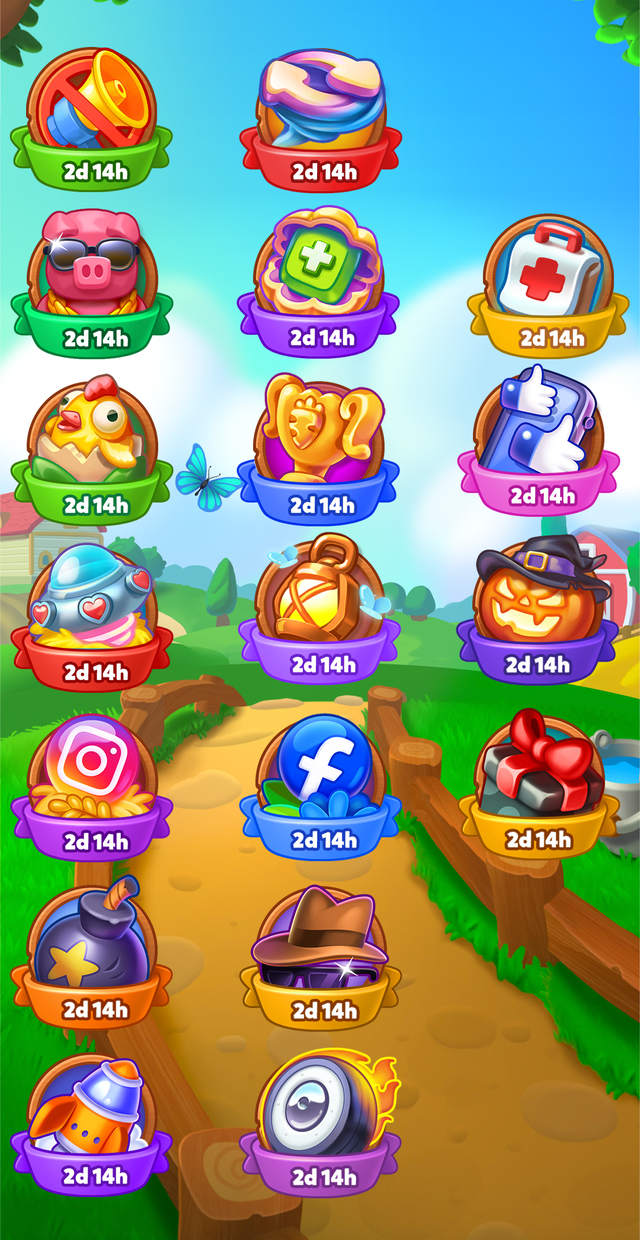
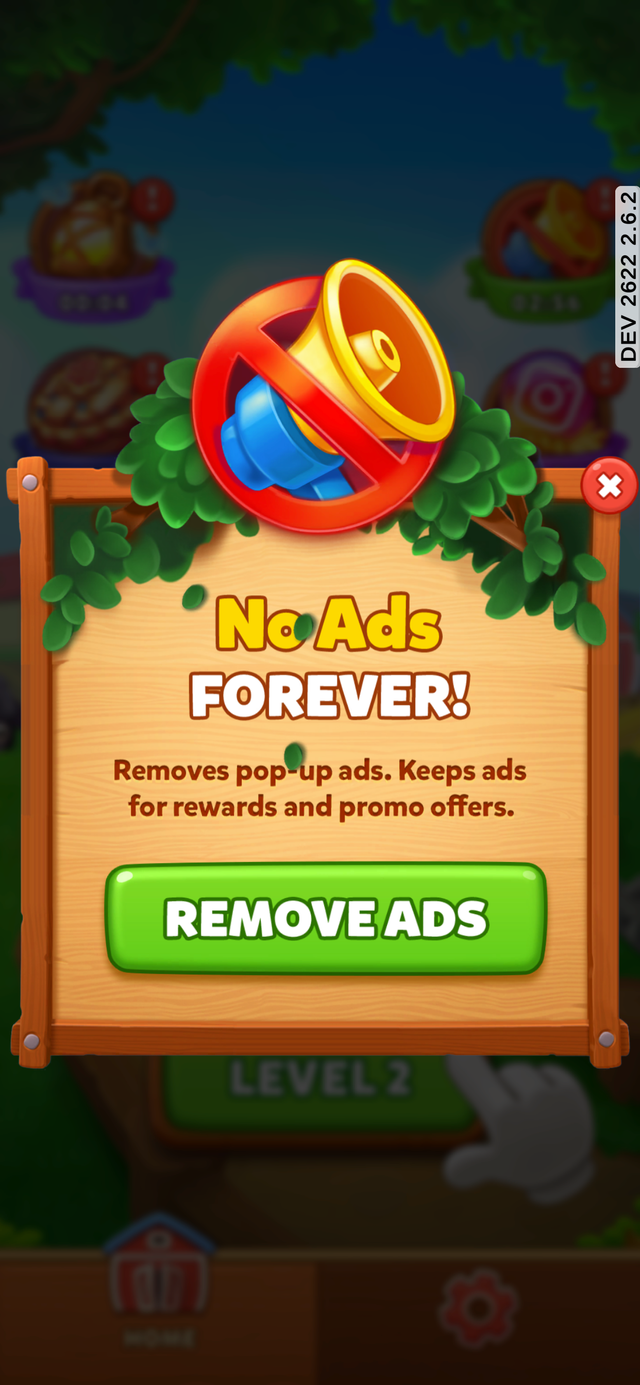
For example, it could be LTO badges, promotional popups like NoAds, etc:
How it works
The principle of working with bandles is quite simple:
- You build the prefab in the Unity project;
- Then use the 'Creative Builder' tool provided by our SDK to build the prefabs into .bundle-files;
- Which you can then upload to our server;
- Then, in-game, when you use some campaign with bundle creativity, the previously uploaded bundle will be downloaded to the player's device and made available for interaction.
Prefab setup
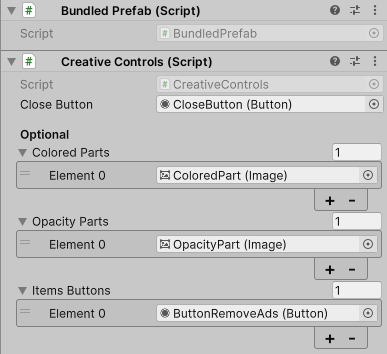
A prefab that needs to be packaged in a bundle must necessarily have the following components in its root object:
BundledPrefab(preferred) orBundledCreative:BundledPrefab– indicates that the bundle usesRectTransformand should be displayed on aCanvas;BundledCreative– an older version of bundles usingRenderTextureas a way to display bundles onCanvas.
CreativeControls– script, that contains standard fields for creatives that are needed to close them and interact with the campaign:Close Button– the field should indicate the button that will close the creative (is a required field);Colored Parts– the color specified in the campaign creative will be applied to all graphic elements placed in this field;Opacity Parts– the color and transparency specified in the campaign creative will be applied to all graphic elements placed in this field;Items Buttons– a list of buttons to click on which will be considered as the player's consent to perform the action proposed by the creative.
Bundles building
- Open the Creative Builder window in the bar menu, select
Magify > Open Bundle Builder, and the Creative Builder window will open.
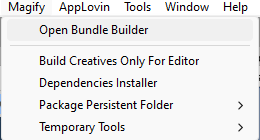
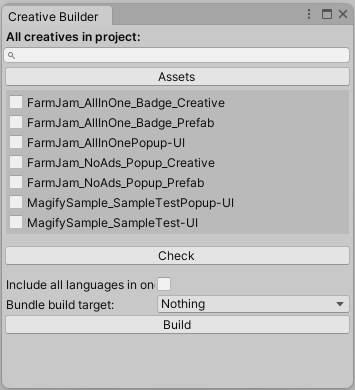
- In the window do the following:
- Choose the prefabs you want to build;
- If you are not sure if your creative prefab is configured correctly, click the Check button, it will display a panel that will tell you if your creative is configured correctly, if not, it will show you what errors it has;
- Toggle 'Include all languages in one bundle' if you want to have only one bundle with different localizations;
- Select one or more target platforms from the drop-down list for which you want to collect bundles (Mobile - includes two ticks at once for Android and for iOS);
- Click the Build button and wait for the build to complete;
- Check the "project_directory/Bundles/platform/creative_name/" folder.
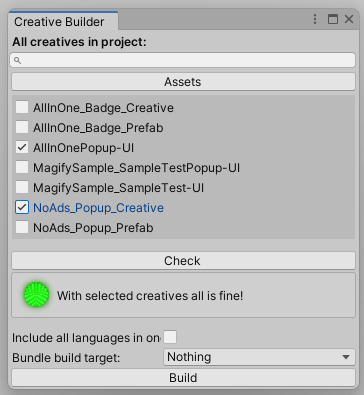
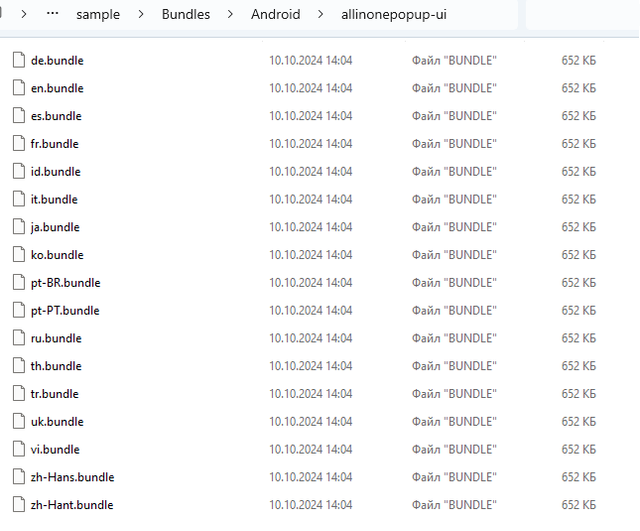
Uploading to server
To add bundle creative to a specific campaign you must open that campaign to the configuration page, then go to the campaign creative or create new one.
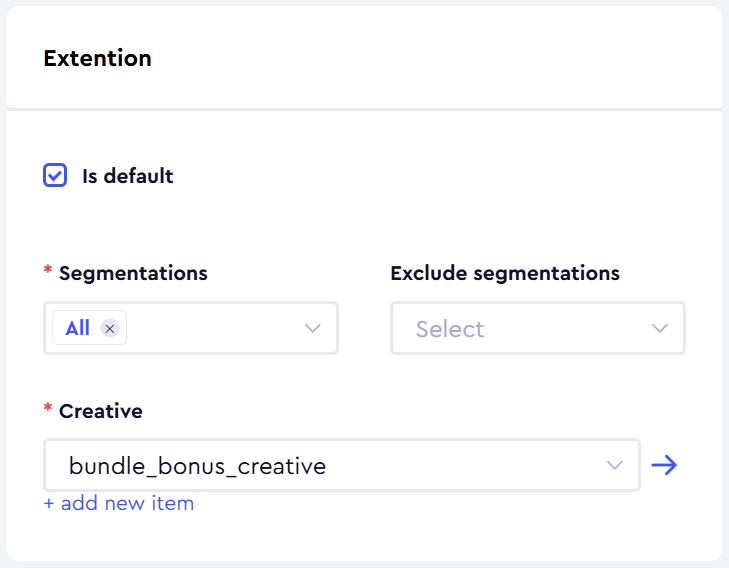
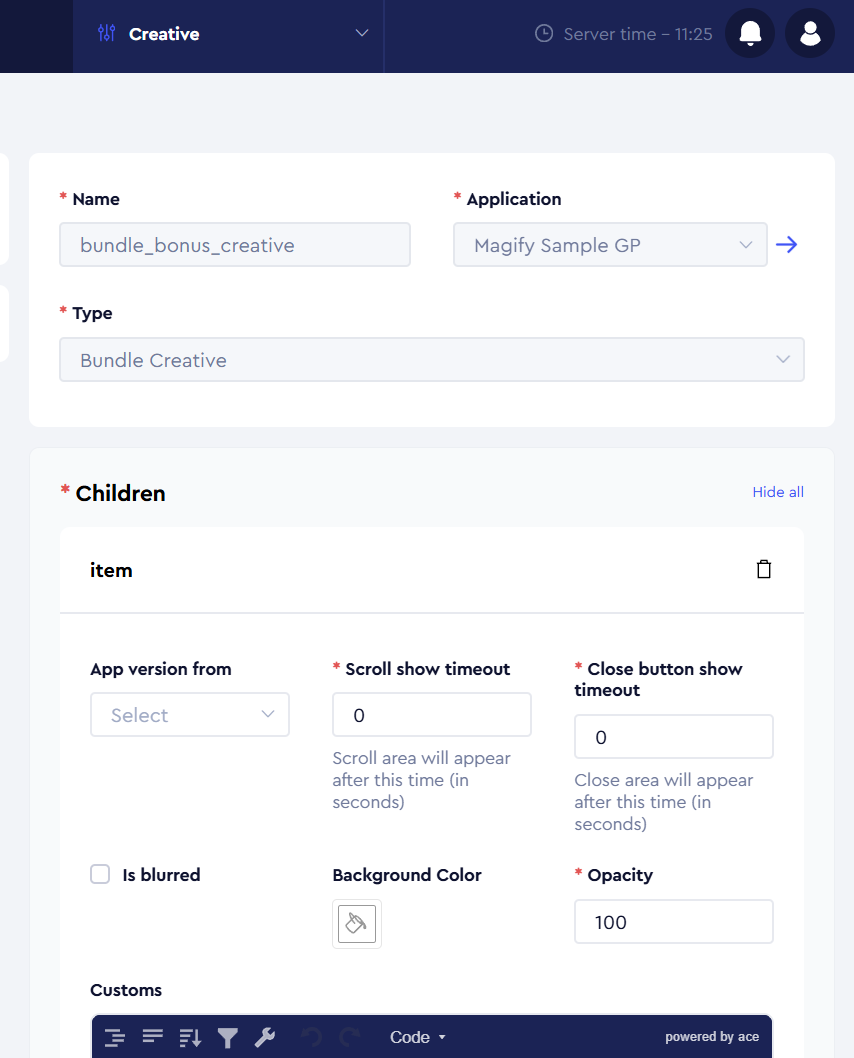
It is important that the type of creative must be Bundle Creative. You must then create a child element of this creative.
Then you can select the bundle file and set its language.
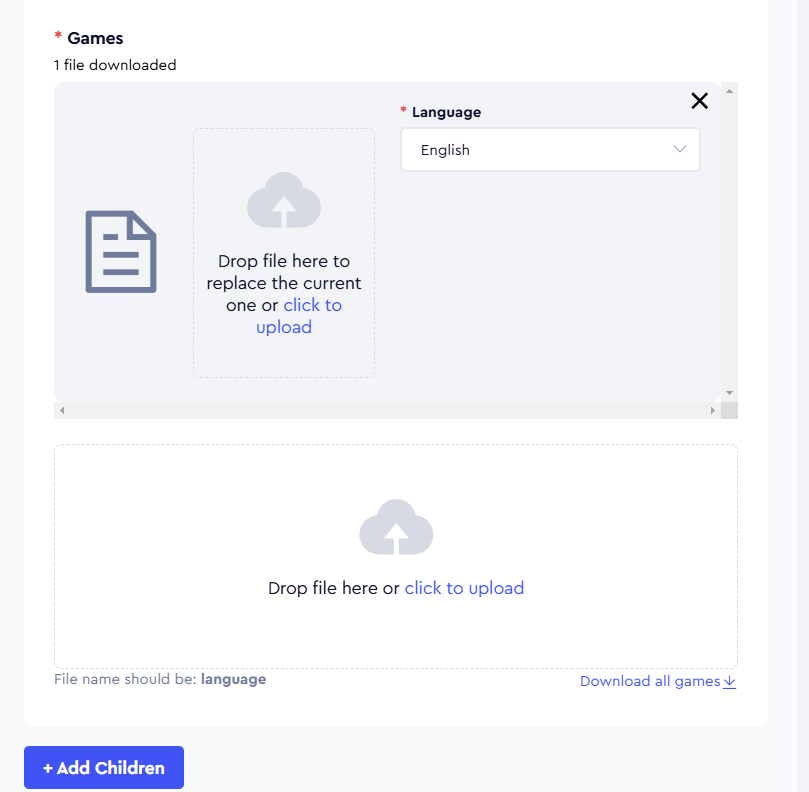
Now for this creative of campaign, depending on the player's language setting, the required bundle will be choosen.
Customization
Localization support
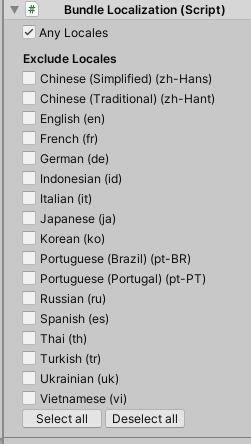
If the creative contains texts translated into different languages, we add the Bundle Localization component to the prefab root. And then you will need to select the necessary locales by checkboxes:
