'%3e%3cpath%20d='M150.127%20195.325C233.04%20195.325%20300.255%20168.696%20300.255%20135.848C300.255%20103%20233.04%2076.3709%20150.127%2076.3709C67.2143%2076.3709%200%20103%200%20135.848C0%20168.696%2067.2143%20195.325%20150.127%20195.325Z'%20fill='white'/%3e%3cpath%20d='M231.093%20118.256L150.117%20-0.000183105L69.1527%20118.256C68.1365%20119.748%2067.5967%20121.294%2067.5967%20122.871C67.5967%20136.017%20104.538%20146.666%20150.117%20146.666C195.697%20146.666%20232.638%20136.007%20232.638%20122.871C232.638%20121.294%20232.098%20119.748%20231.082%20118.256H231.093Z'%20fill='%2301A9F2'/%3e%3cpath%20d='M150.106%20356.844L98.7265%20281.5L62.3035%20311.117L25.4253%20257.017L50.787%20239.721L68.8556%20266.226L105.279%20236.62L150.106%20302.363L194.934%20236.62L231.357%20266.226L270.045%20209.48L295.407%20226.776L237.898%20311.117L201.475%20281.5L150.106%20356.844Z'%20fill='white'/%3e%3cpath%20d='M592.168%20165.22V237.908H561.482V171.825C561.482%20153.884%20551.807%20143.034%20535.051%20143.034C516.644%20143.034%20505.318%20156.011%20505.318%20175.604V237.908H474.875V171.349C474.875%20153.407%20464.968%20142.791%20448.445%20142.791C429.804%20142.791%20418.711%20156.011%20418.711%20176.07V237.908H388.025V118.964H418.711V134.301C426.502%20122.033%20440.421%20115.418%20458.13%20115.418C477.014%20115.418%20490.7%20122.975%20498.247%20135.953C506.747%20123.208%20521.608%20115.418%20540.725%20115.418C572.819%20115.418%20592.179%20135.476%20592.179%20165.22H592.168Z'%20fill='white'/%3e%3cpath%20d='M899.48%2080.2534C899.48%2068.2182%20909.388%2059.4856%20920.248%2059.4856C931.574%2059.4856%20941.248%2068.9274%20941.248%2080.2534C941.248%2091.3465%20931.574%20100.788%20920.248%20100.788C909.155%20100.788%20899.48%2092.0557%20899.48%2080.2534Z'%20fill='white'/%3e%3cpath%20d='M935.832%20118.955H905.146V237.899H935.832V118.955Z'%20fill='white'/%3e%3cpath%20d='M1140.2%20118.955H1173L1099.84%20288.644H1067.5L1090.6%20237.666L1043.42%20118.955H1076.45L1107.37%20204.81L1140.18%20118.955H1140.2Z'%20fill='white'/%3e%3cpath%20d='M883.182%20115.418H815.904C781.45%20115.418%20755.008%20137.837%20755.008%20171.825C755.008%20206.756%20778.846%20228.466%20815.904%20228.466C831.951%20228.699%20847.288%20231.059%20847.288%20246.64C847.288%20259.617%20835.962%20267.175%20817.555%20267.175C799.148%20267.175%20784.985%20254.664%20781.915%20239.326L756.66%20246.873C763.741%20274.722%20787.346%20292.188%20817.312%20292.188C856.963%20292.188%20876.313%20272.838%20876.313%20249.233C876.313%20234.605%20869.231%20223.036%20855.545%20215.721C868.522%20206.047%20877.022%20190.709%20877.022%20171.825C877.022%20160.986%20871.412%20149.3%20863.145%20140.674H883.182V115.418ZM815.904%20203.919C797.264%20203.919%20782.392%20192.117%20782.392%20171.825C782.392%20151.534%20799.148%20139.964%20815.904%20139.964C832.66%20139.964%20849.416%20151.29%20849.416%20171.825C849.416%20188.814%20835.497%20203.919%20815.904%20203.919Z'%20fill='white'/%3e%3cpath%20d='M737.426%20237.906V118.962H708.158V136.088C698.685%20121.481%20682.796%20115.426%20668.983%20115.426C633.587%20115.426%20608.087%20143.509%20608.087%20179.148C608.087%20214.788%20633.1%20241.452%20668.03%20241.452C682.426%20241.452%20698.24%20235.08%20708.148%20220.917V237.906H737.415H737.426ZM673.471%20213.835C653.645%20213.835%20638.308%20199.207%20638.308%20178.429C638.308%20157.65%20653.889%20143.032%20673.704%20143.032C694.705%20143.032%20709.1%20160.021%20709.1%20178.429C709.1%20196.836%20694.472%20213.835%20673.46%20213.835H673.471Z'%20fill='white'/%3e%3cpath%20d='M1003.29%20111.085C1003.29%2098.5315%201011.17%2091.8842%201023.98%2091.8842C1028.9%2091.8842%201033.83%2092.6251%201037.77%2093.853L1042.2%2068.0043C1038.02%2066.7765%201027.43%2064.7971%201021.27%2064.7971C994.18%2064.7971%20972.607%2081.786%20972.607%20110.355V118.961H956.889V144.216H972.607V164.519V237.915H1003.29V144.216H1038.46V118.961H1003.29V111.096V111.085Z'%20fill='white'/%3e%3c/g%3e%3cdefs%3e%3cclipPath%20id='clip0_1_3'%3e%3crect%20width='1173'%20height='356.842'%20fill='white'/%3e%3c/clipPath%3e%3c/defs%3e%3c/svg%3e)

Tag
A Tag is a system entity used to associate a Badge Creative with a Limited Time Offer (LTO) Campaign and manage offer exclusivity within the application.
A Tag acts as a logical identifier that prevents multiple LTO offers of the same type from running simultaneously.
Purpose of Tag
Tags are used to:
- associate Badge Creatives with LTO Campaigns;
- group Badge Creatives by a shared purpose;
- prevent conflicting LTO offers from running simultaneously;
- simplify Badge Creative selection during campaign configuration.
Each Tag belongs to a specific application and can be reused across multiple Badge Creatives and campaigns.
How Tag Works
A Tag acts as an intermediary between an LTO Campaign and a Badge Creative.
The relationship is structured as follows:
Tag
 ├── Badge Creative A
 ├── Badge Creative B
 └── Badge Creative C

LTO Campaign
        ↓
      Tag
        ↓
Available Badge Creatives
When configuring an LTO Campaign, a Tag is selected first. After a Tag is selected, only Badge Creatives associated with that Tag become available in the Badge field.
This allows different badge variations to be used for the same display scenario.
Offer Exclusivity
One of the primary purposes of a Tag is to manage LTO offer exclusivity.
Campaigns using the same Tag cannot be active simultaneously, even if all other campaign conditions are satisfied.
This prevents multiple identical or conflicting offers from being displayed to users at the same time.
For example, if two campaigns use the Tag no_ads, only one of them can be active at a given moment.
If another campaign with the same Tag is launched, the system cancels the launch and reports a Tag conflict.
Entity Relationships
The following relationships apply:
- one Tag can be associated with multiple Badge Creatives;
- one Badge Creative can be associated with only one Tag;
- multiple campaigns can reference the same Tag;
- only one campaign with a specific Tag can be active at a given time.
Managing Tag
Tag entities are managed in:
Magify → Configurations → Remote Config → Tags
To create a new Tag, click Create New.
Each Tag contains the following parameters:
Tag names can be edited after creation.
If a Tag name is used in external configurations or has been shared with development teams for client-side integrations, notify the relevant teams before renaming it.
Creating a Tag
Tags can be created in two ways.
Through the Tags Section
- Navigate to Magify → Configurations → Remote Config → Tag.
- Click Create New.
- Select the target application.
- Enter the Tag name.
- Click Save.
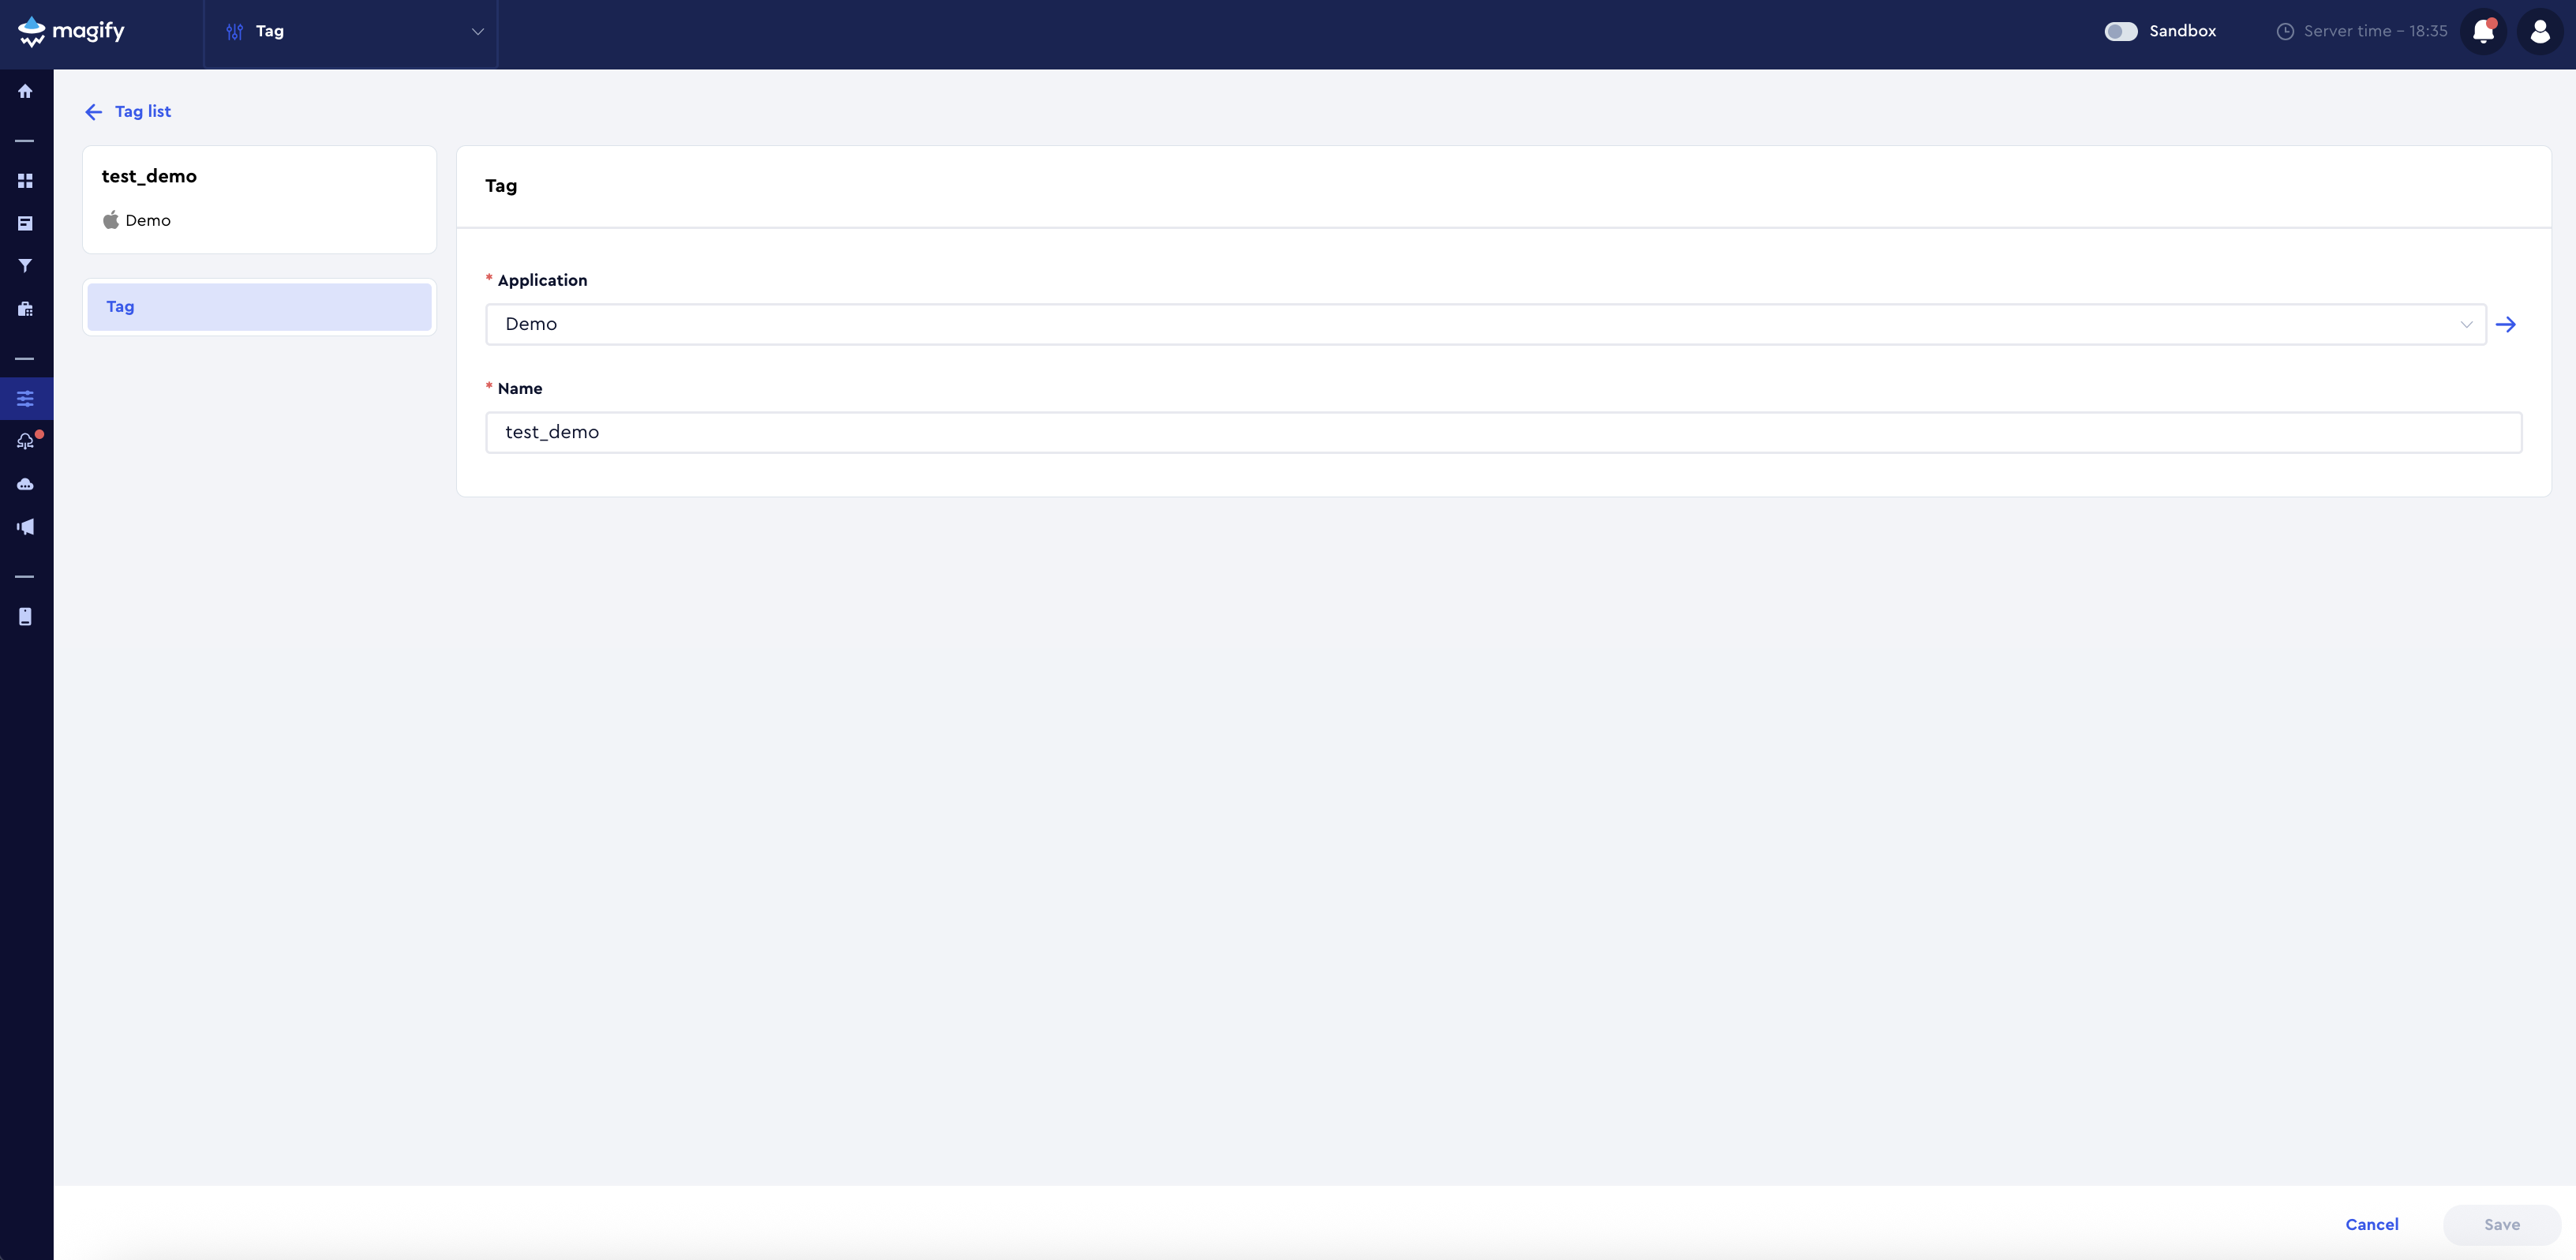
You can see an example of a configured Tag in the demo application here.
Through an LTO Campaign
A Tag can also be created directly while configuring any LTO Campaign.
- Open the target campaign.
- Locate the Tag field.
- Click + Add New Item.
- Create the new Tag.
- Save the campaign.
The newly created Tag becomes immediately available for campaign and Badge Creative configuration.
Filtering Tags
To view Tags for a specific application:
- Open the Tag section.
- Click Add Filter.
- Select the required application.
- Click Apply.
Use Edit Table to configure visible table columns.
It is recommended to display at least:
- Name;
- Application.
What's Next
After creating a Tag:
- Create a Badge Creative and associate it with the Tag.
- Configure an LTO Campaign and select the Tag.
- Select a Badge Creative available for the chosen Tag.
For additional information, refer to the following articles:
- Badge Creative;
- LTO Campaigns;
- Creative.